Hexagon Tile to Hardwood Floor Transition
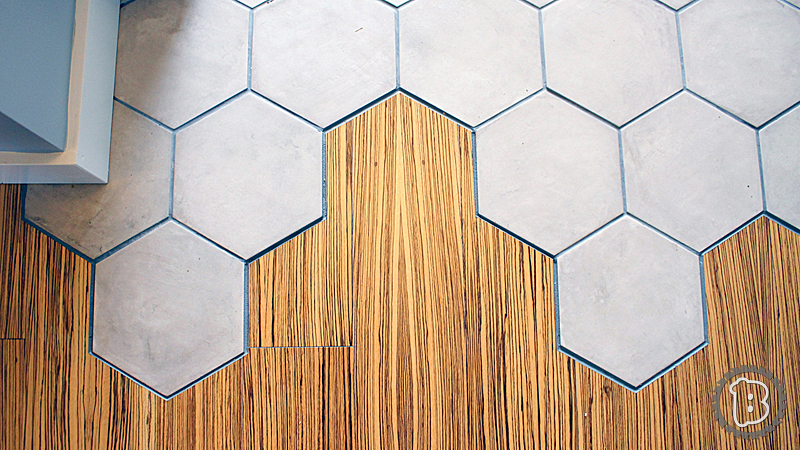
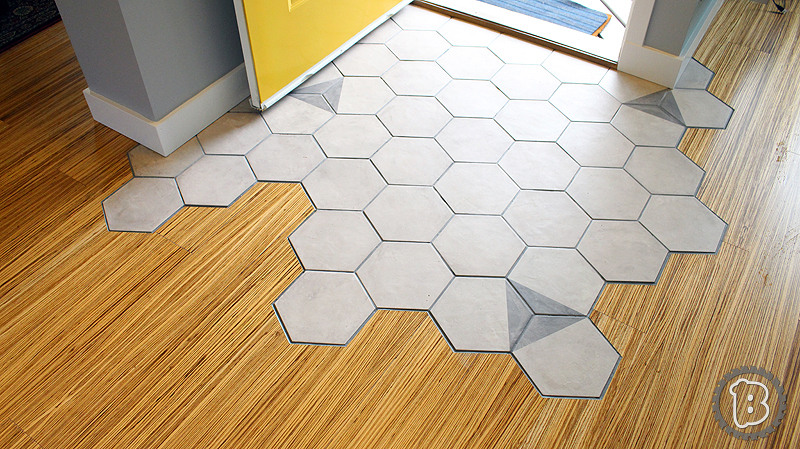
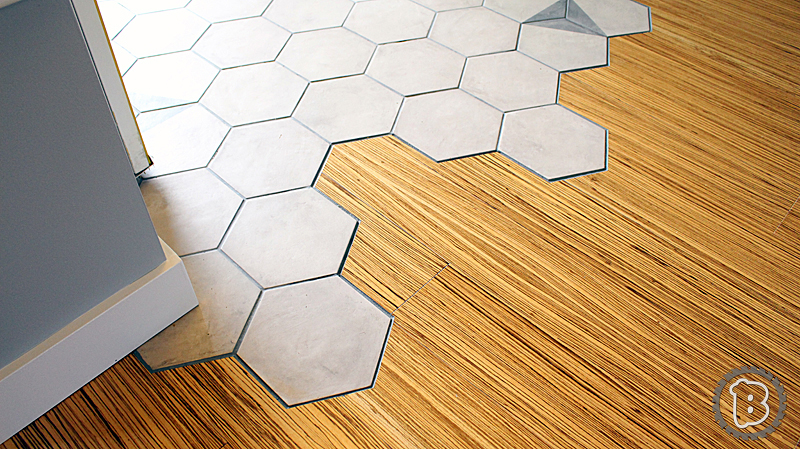
After seeing numerous photos of Hexagon Tiles organically transitioning into hardwood flooring, I had to attempt this technique. I hadn’t seen any conclusive tutorials on doing this transition so I was left to my own devices. The final product turned out really sharp.
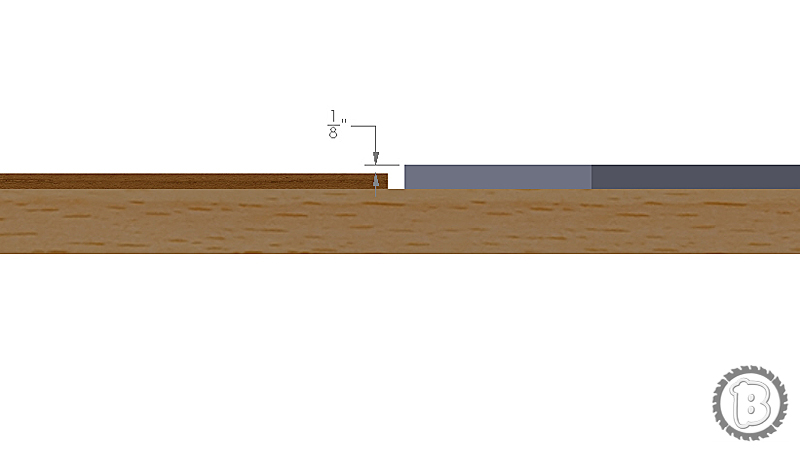
I will be installing a Zebrawood engineered hardwood flooring. This means it has a thin veneer of Zebrawood mounted on an MDF substrate and a little layer of cork on the bottom. It is important to have the tiles sitting approximately 1/16″ – 1/8″ higher than the hardwood floors. This is to minimize damage to the frail Zebrawood veneer.
Never nail down or affix any floating floor system (such as this engineered hardwood flooring) but that is precisely what I am going to do here! At two points in the transition I strategically applied construction adhesive.
I found hexagon tile in stock at a local supplier and opted for nine “Porzione” tiles to randomly place three triangles. These tiles are 10” x 8.5” which I would say are a medium size among the other choices. Choosing a smaller tile allows for a more intricate perimeter design but adds to the complexity of cutting the flooring around the tile. Having an extra tile is handy when tracing out pattern to cut in the flooring.
An assortment of saws where used to get the job done but a table saw and a miter saw go a long way. I would also plan on extra wastage as mistakes are common when getting the cuts fitting right.
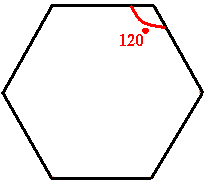
Take extra care to lay tiles down square and parallel to the flooring. The bulk of the cuts will be at 30° and this will allow your miter saw to give you the correct angle when positioned for a 30° miter cut. Basic geometry (120° – 90° = 30°)
Instructions
Now you are ready for the most glorious and laborious floor transition ever!
- Here is what the entrance looked like before. I had to smash up the tile and remove a 3/8″ plywood sub-floor. My finished heights were optimal when the tile and engineered hardwood were on even plane.
- Depending on the cut. I used a miter saw, table saw, jig saw, and a multi-tool.
Thanks for reading and Happy building
check out the video at the top of this post for additional instruction.





Hi Adrian,
Thank you very much for making this tutorial and video! Me and my partner are designing our new home and are thinking how to do the hexagon tiles transitioning into wood flooring. And your tutorial did give us inspiration and courage to do this 🙂
But we were wonder if it also works for laminate floors? The reason why we prefer laminate floors is because: a. our home is located in east Asia and the climate here is quite humid and warm, hardwood floors would get moldy more often here than in any other countries or regions; b. the surface of the laminate floors is so much more durable than the hardwood one. (Not sure if our knowledge is right :P)
Please give us your advice, hope to hear from your soon! Thanks in advance 🙂
Best,
Jillisa
Hi Jillisa,
The Technique is definitely just as feasible with laminate floors. It is just another type interlocking, floating floor. So I believe it would be entirely possible to get execute this transition with laminate floor.
Laminate still has a particle board or MDF core (at least it does here) so I’m not sure it will hold up any better in comparison to engineered hardwood. You may want to look into vinyl plank flooring for it’s moisture-resistant properties instead which could be tricky for these intricate.
cuts.
Thanks for stopping by!
Hi there!
There is no word to express my gratitude ? I’ve been searching the entire web, dark web and press for this, so… thank you. I really wanted to do that in the house i’m building next year, so it will be very helpful. It must be hard work, but the results are amazing.
Best regards,
Tipha
Thanks for sharing, great use of the Marca Corona Terra tile. I have a client I have been brainstorming with.. this is PERFECT!
Thanks for this video. When installing the engineered flooring do you need to use the glue down method for the entire room/home or can you still use the floating floor method?
Thanks!
Thank you for the feedback! I only glued down three spots which I felt might be prone to lifting. Definitely do not glue down the entire floor.
This is really cool and very interesting. I would like to do the hexagon tile in my kitchen renovation transitioning into the living room. But I wonder if I could do it since I have hardwood floors are already installed in the living room. Is there any possibilities. Already bought the hexagon tiles today. So they can be installed thursday.
I am trying the same… Im using ceramic to ceramic… lots of complicated cuts to be made… any tips would be greatly appriciated
Hello,
Thanks so much for this tutorial. We are redoing our kitchen and the laundry room. We want to combine the both floor same shape different colors. We are having a hard time finding the tiles that can help us to this project. The size of both room combine 190 square feet, is very small space specially the kitchen floor. Do you have any idea where we buy a tile that we can use for this design? I have online and found a model called 60° collection. The shapes and colors are fantastic, and little over price for our budget. I like your idea but I’m not about wood floor in the kitchen. Any ideas will be helpful!
Thanks
I would have thought you needed a concrete backer board as a subfloor for the tile? No, issues on just putting it on the wood plywood? Thanks in advance
Hi Chad,
This method worked fine for me but I get a ton of people telling me I did it wrong and that the tiles are going to lift up. It all comes down to finished heights and if you floor is subject to excess movement. This floor still look like it did on day one and I plan to post a follow-up video showing it holding up nicely.