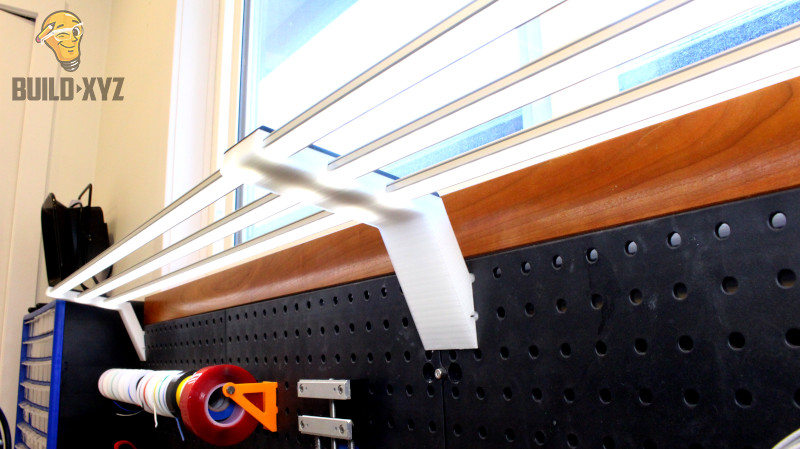
Here is a sweet custom lab bench lighting solution that won’t break the bank, and all you need is pegboard and a 3D printer! (which everyone has now right?).
This is round two for me on designing an LED lighting system that is built on widely available and inexpensive aluminum extrusions for LED strip lights. Using the supplied 3D models you can make any length by joining sections together!
Materials
- Aluminum LED Channel – 1 x 6 pack used ($23.00)
- 22 AWG JST Connectors – 6 pairs ($6.99)
- 4000k LED Strip Light – 1 Meter ($13.99)
- LED Touch Sensor – 1 ($3.69)
Make it
The first step is to print the required parts. I needed two ends and a middle section to make this happen.
The next step is to prepare the aluminum channel. Install the 3D printed mounts so you can mark and cut the aluminum channel to length. Use a file to clean up the cut.
Create a notch at the end of the channel for wiring relief by using a hacksaw for the initial cut and pliers to wiggle the tab off.
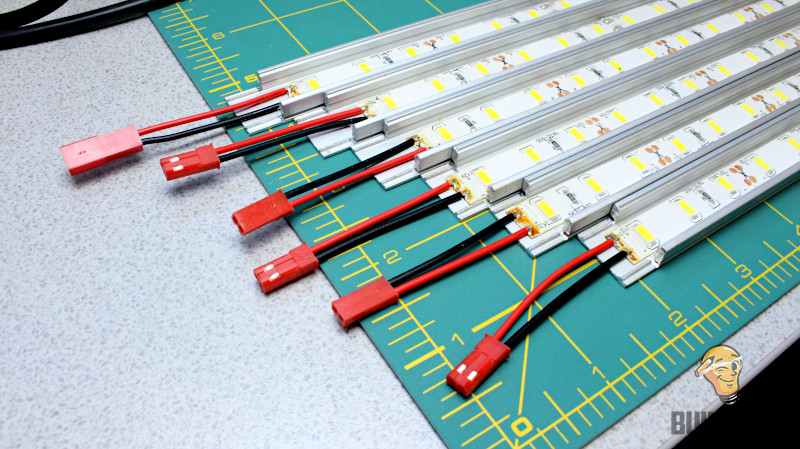
With the channel ready, cut and stick the LED strip lights to the channel. Solder a connector to both ends of the LED strip (except the last led strip in the chain). Use a female and male connector on each.
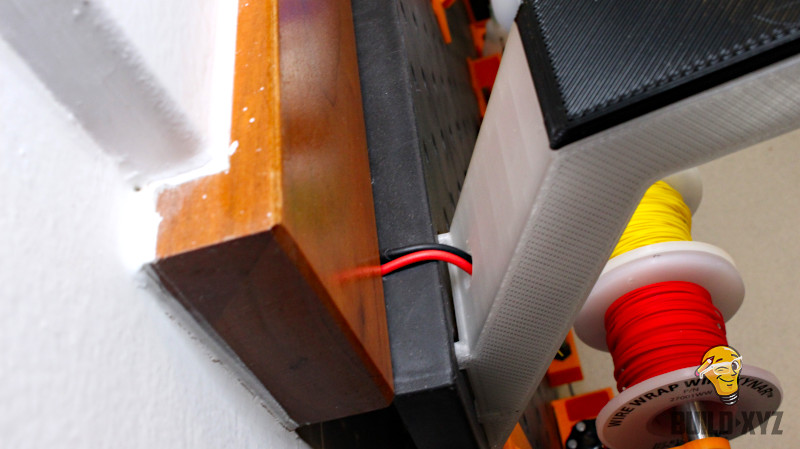
Solder another connector on the power wires coming from the power switch and feed it through the provided hole on the 3D printed mount.
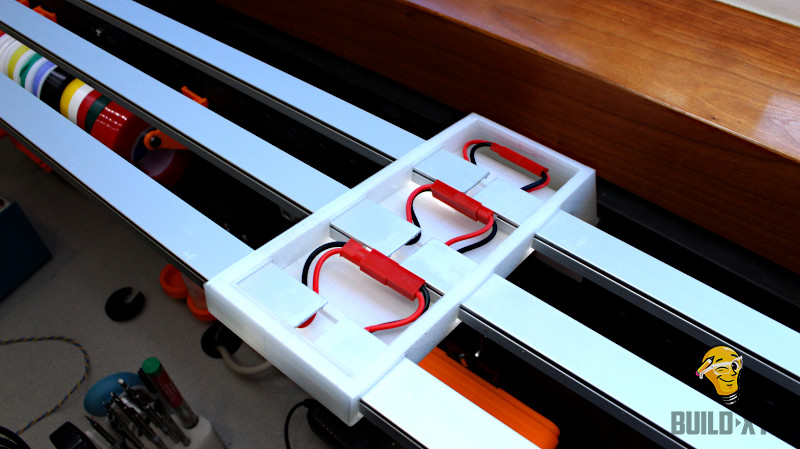
The next part can be a little tricky, slide the pre-made LED assemblies into the 3D printed mounts. You can then connect each the LED strips together using the previously soldered connectors.
Pop those lids/caps on to finish off the job!
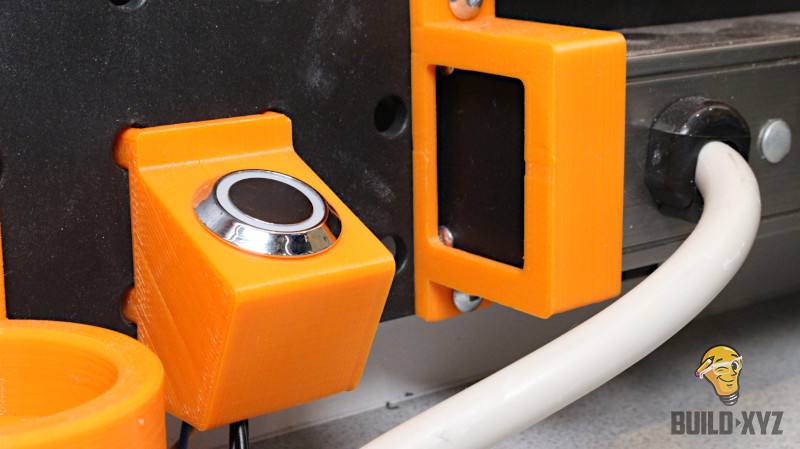
I used this slick little touch sensor that has an illuminated ring and a built in PWM dimmer that can be activated by holding you finger on the sensor, the brightness setting is then stored internally. You can of course use any switch, but I have provided a pegboard mount for this switch.
Thanks for stopping by!






Leave A Comment